How Often Should You Flush Your Radiator?
We get asked this all the time.
Simply put, a radiator is part of a system designed to keep your engine cool. However, while many people know what a radiator does, few are aware of the important maintenance task required to keep it in good condition — radiator flushing. In this article, we explain what radiator flushing is, why it’s so important and how to perform this easy task yourself.
What It Means to Flush a Radiator
Flushing your radiator helps ensure your cooling system operates smoothly at all times. It will eliminate rust, dirt and various other undesired particles that accumulate over time. If your coolant, which is a 50/50 mixture of antifreeze and distilled water, gets too contaminated, it cannot cool your engine efficiently while it’s running. In wintertime, contaminated coolant may be unable to prevent freeze-ups while your car isn’t running, which could do severe or even irreparable damage to your engine. Examples of this damage include a cracked head or block — situations you definitely want to avoid.
Furthermore, if your coolant isn’t changed regularly, it will begin to lose its capability to resist corrosion, which may damage various metals in your engine, including steel, copper and aluminum. If corrosion and scale build-up in your system, it can clog the radiator’s tiny passages, the water pump, the engine’s water jackets and even the heater core.
Here is what a mechanic will do during a radiator flush:
- Leave the engine to cool: Your engine must be cool to perform a radiator flush. If the engine is still warm, the coolant may be dangerously hot and could injure those who try to handle it.
- Jack up the car: Your mechanic will typically jack up the front end of your car slightly to give them access to the radiator’s underside. This can also help to get rid of bubbles in the coolant while the flush is taking place.
- Clean and inspect the radiator: Your mechanic will generally brush the radiator’s fins, which will help to remove any grime and dirt that has built up. After that, they will proceed to examine your radiator for any rust or damage, as these can be signs of more serious problems with your heating system.
- Examine the radiator’s hoses: Your mechanic will then inspect the two hoses that enter the radiator to make sure that neither has collapsed, which may cause problems with the flow of the coolant through your system.
- Place a drainage pan: Your mechanic will then place a drainage pan under the radiator’s drainage valve. Typically the petcock will be attached to one of the radiator tanks.
- Remove the drainage valve covering if necessary: Certain radiators may have a tiny plastic covering on the drainage valve. If your radiator has this, your mechanic will remove it with a screwdriver.
- Begin draining: Your mechanic will remove the petcock to allow the radiator to drain. This will remove about half of the coolant that is currently in your system.
- Run a new mixture through the system: Your mechanic will run a mixture of water, coolant and detergent through your cooling system. They will run your car for ten to 15 minutes, allowing the mixture to fully circulate.

- Drain the mixture: Your mechanic will drain the mixture from your car once it has sufficiently cooled down. They may have to repeat this process several times to drain it completely.
- Add new coolant: Your mechanic will add new coolant to your engine. The ideal ratio is roughly half distilled water and half coolant. Your mechanic will mix these before adding them to your engine.
- Bleed the radiator: Bleeding the radiator removes any air pockets. Your mechanic will remove the radiator cap and run the engine for about 10 minutes to let the air escape. Then, they will fill the coolant up to the fill line.
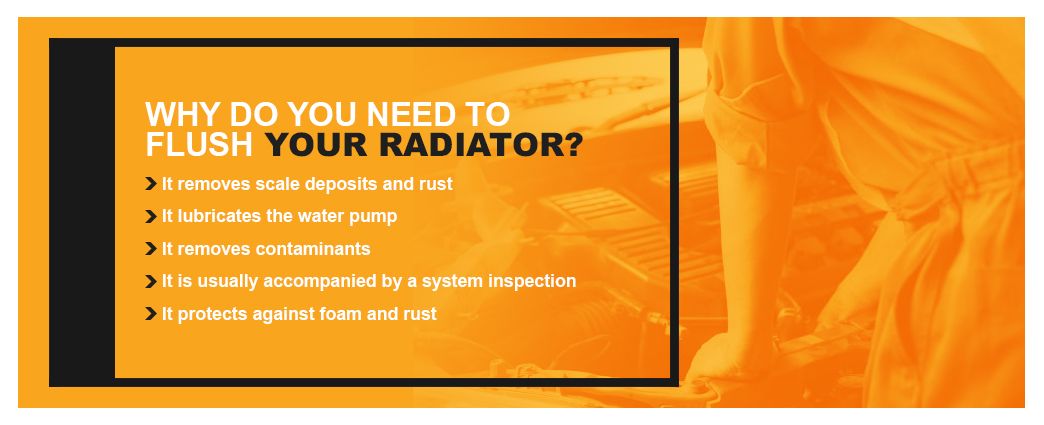
Why Do You Need to Flush Your Radiator?
Flushing your radiator is strongly recommended for the following reasons:
- It removes scale deposits and rust. Scale deposits and rust build up in a radiator over time. Flushing helps to take out these deposits, which get washed out with the antifreeze. Buildups can lead to overheating and damage to your radiator, so removing them is critical to keep your vehicle running well.
- It lubricates the water pump. The additives in your coolant serve to lubricate the water pump in your vehicle. This will prolong your water pump’s lifespan.
- It removes contaminants. Flushing will completely drain your system of the old antifreeze, meaning that any contaminants in your system will also get flushed out. Over time, the coolant’s additives may lose some of their anti-corrosive properties, which will lead to a particle buildup. By flushing your radiator, you will take these particles out of the system.
- It is usually accompanied by a system inspection. Most mechanics will inspect your entire cooling system when they flush your radiator. They will check to see if the system has any leaks by using pressure tests. This service should be included in the price of the flushing — if it’s not, then we recommend that you go elsewhere for your radiator flush.
- It protects against foam and rust. The newly added anti-freeze will contain additives that prevent build-up and foaming, helping the system to operate more efficiently.
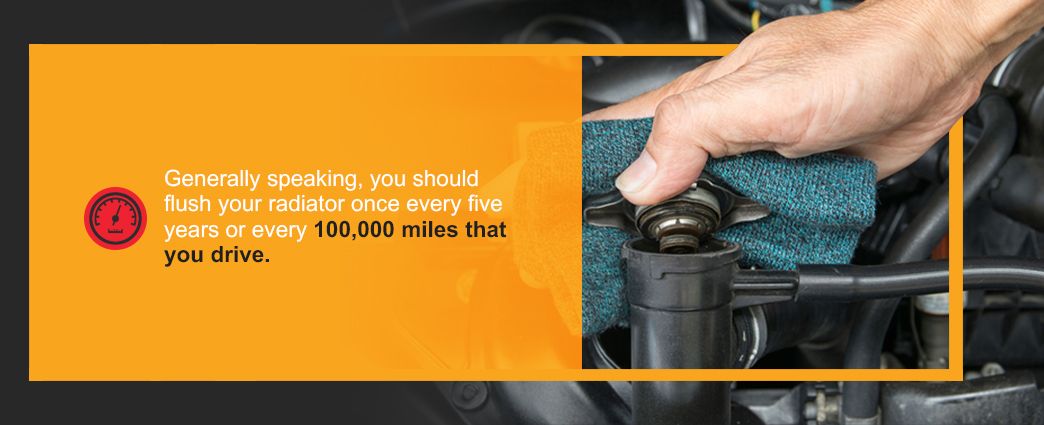
How Often Should You Flush Your Radiator?
The best way to find out when you’re due for a radiator flush is to consult your car owner’s manual. However, there are some cases where you may need to flush your radiator in shorter intervals that your owner’s manual recommends. It will depend on the weather conditions in which you drive your car and your own driving habits. Generally speaking, you should flush your radiator once every five years or every 100,000 miles that you drive.
However, there are some signs that your car needs a coolant flush. How do you know if you need a radiator flush? If you notice any debris, rust or corrosion on your radiator, flush your radiator or have a mechanic perform a radiator flush as soon as possible. Considering that flushing your radiator has many benefits and the procedure is relatively straightforward, it should never be put off.
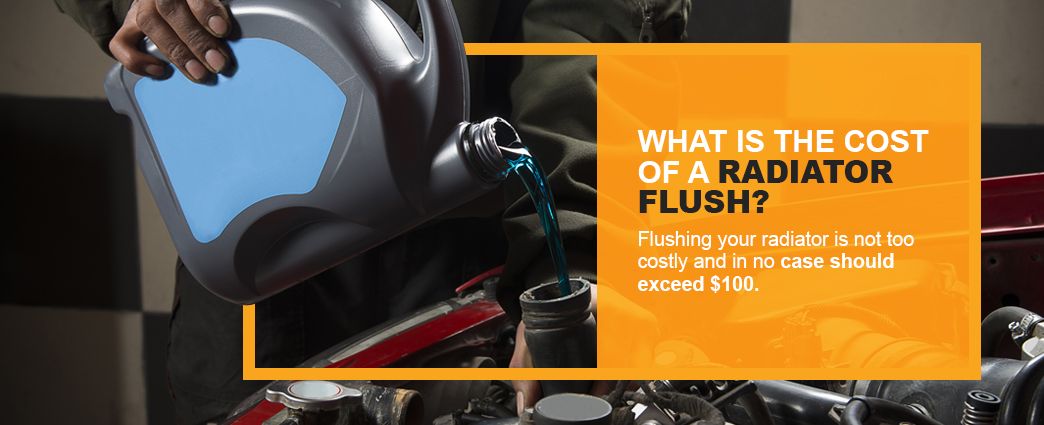
What Is the Cost of a Radiator Flush?
Flushing your radiator is not too costly and in no case should exceed $100. The only expenses are the purchase of a new coolant, a flushing agent and some distilled water.
It’s important to buy the appropriate coolant for your car. Years ago, there was basically only one type of antifreeze/coolant solution and all products were dyed using that same recognizable bright green color. These days, there are orange, red and pink formulations available, and each one is intended for specific types of vehicles. Consult your owner’s manual to find out the right type of coolant for your vehicle’s engine.
How to Flush a Radiator
Flushing your radiator is a relatively quick, straightforward procedure that you can complete in just an hour using only common workshop tools. It just involves draining the old fluids and flushing your system before adding a new antifreeze solution.
Here is a step-by-step guide on how to flush a radiator. The first section involves draining the old antifreeze:
- Wait for your engine to cool down. You should wait for at least half an hour after driving your vehicle before you begin to flush your radiator. To get an idea of how warm your radiator is, hold your hand just above the engine block. Attempting to drain the fluid in your vehicle shortly after driving it is strongly discouraged, as the fluids will be extremely hot.
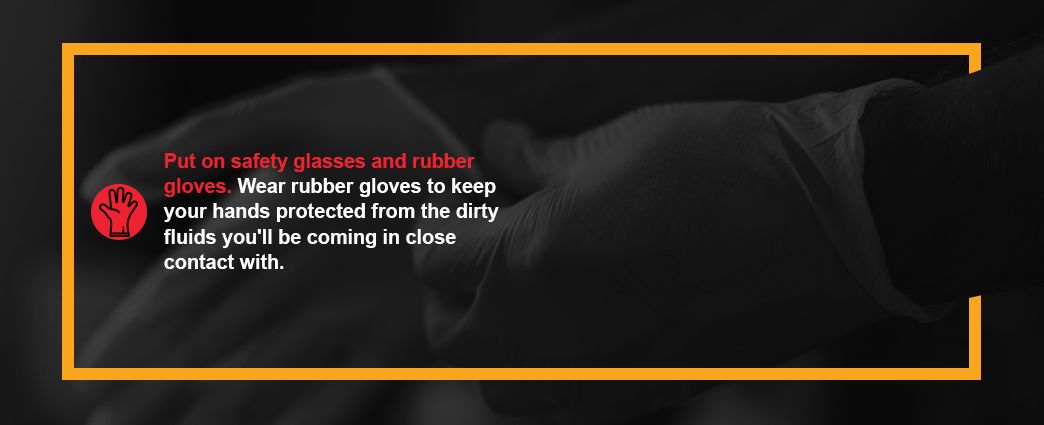
- Put on safety glasses and rubber gloves. Wear rubber gloves to keep your hands protected from the dirty fluids you’ll be coming in close contact with. Wear safety glasses to protect your eyes from splashing fluids. Antifreeze is toxic and could cause serious damage if it comes in contact with your eyes or skin.
- Use a jack. Jack up the front side of your car so that you can put a drainage pan under the radiator. We recommend that you use jack stands, which will make your car more secure. Position the jack so that it lifts up the metal frame under your car. Then, operate the lever to push your car off the ground. Don’t forget to apply the parking brake to keep your car from moving while you work on it.
- Place a large bucket or pan under the radiator. The container you choose should be able to hold at least two gallons and have a built-in spout, which will allow you to easily pour the old antifreeze into another container.
- Lift your hood and find the radiator. The radiator will be a long, narrow, metal tank that is usually located at the front of your car and right beside the engine. Inspect the tubing for rust and cracks. If you notice any of these issues, you should take your vehicle to a shop or buy new parts at a car parts store near you. If the radiator looks dirty, clean the outside surface using soapy water and a nylon brush.
- Take the pressure cap off the radiator’s top. This cap is a big disc-shaped cover and can be twisted off. This is where you will pour in new antifreeze after your radiator is drained completely. Loosen and remove the cap by slowly turning it counter-clockwise. Put the cap somewhere where you can access it easily. You don’t want it falling between components of your car.
- Pull out the petcock, or drain plug, on the radiator’s underside. Go to your car’s driver’s side and reach under the bumper to find a plug or valve in your radiator’s corner. It’s a tiny opening at the very bottom of the tank. You might need a socket wrench or screwdriver to remove the plug completely. Open the valve slowly over your bucket or pan. Make sure no old antifreeze runs onto the road or down a drain, as it could be harmful to your local ecosystem.
- Allow the liquids to drain completely before you reseal the plug. Your radiator could contain up to two gallons of antifreeze. Allow it to fill the container you’ve put under the plug. Once the liquid has stopped coming out, you can seal the valve again.
- Pour the antifreeze you’ve drained into old plastic jugs. Make sure to label them clearly. Contact the hazardous waste control service in your area and ask them how to dispose of the antifreeze properly.
Now that your radiator is drained, it’s time to clean the inside. Do so by following these steps:
- Put radiator cleaner and distilled water in your radiator. Pour these fluids into the radiator reservoir, which is where you took off the pressure cap. We recommend using a funnel to ensure that all the water and cleaner goes inside. Pour the entire bottle of cleaner in first, then add one gallon of the distilled water. Once the radiator is filled, put the cap back on. You can easily get radiator cleaner at an automotive store near you — check the owner’s manual for your vehicle to see if they suggest a specific radiator cleaner or amount.
- Turn on your car with the heat at full blast for five minutes. Turn the car key in the ignition so that the engine starts. The water and cleaner will make its way through your car’s cooling system to take out every last trace of old antifreeze. Make sure that you’re doing this in an area that’s well-ventilated. If you’re in your garage, make sure to have a door open so the fumes can get out.
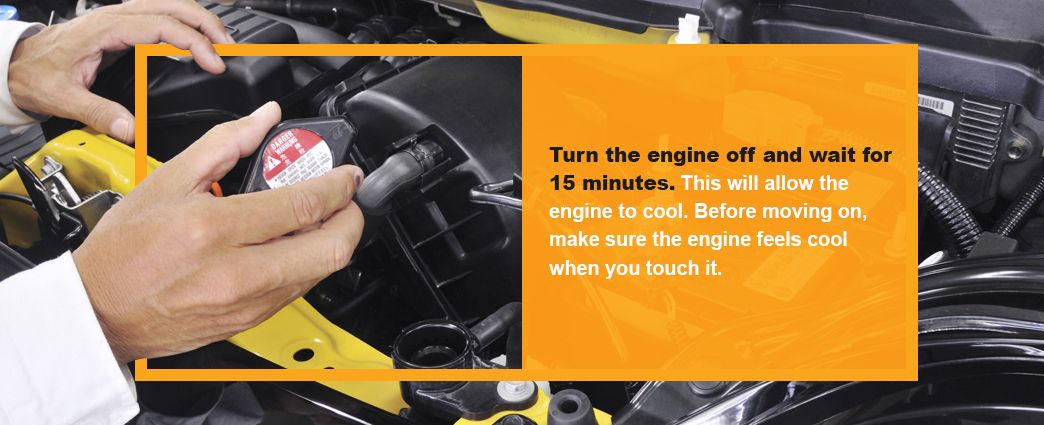
- Turn the engine off and wait for 15 minutes. This will allow the engine to cool. Before moving on, make sure the engine feels cool when you touch it. The water and cleaner will stay hot after it runs through your car and touching it could hurt.
- Drain the radiator by opening the pressure cap and petcock. Check that your drainage pan is directly under the petcock to catch the distilled water and cleaner. There is a chance that the water will come out rust-colored or brown after flowing through your cooling system.
- Pour tap water in the radiator to flush it. Continue pouring in one gallon of tap water, run your vehicle with the heat on and drain it once it has cooled. Once you notice that the water is running clear, then flush the radiator one final time using distilled water. Do not use tap water for this purpose, as tap water contains minerals that could lead to premature rusting of your cooling system.
Once you’ve thoroughly washed out your system with distilled water, it’s time to refill your radiator. This is how you do it:
- Create an antifreeze and distilled water mixture. Mix a half-gallon of distilled water with a half-gallon of antifreeze. Pour the antifreeze first, and make sure to pour it from the side of the spout so that no spillage will occur. Then, add distilled water. If you don’t want to mix this solution yourself, you can go to a local automotive store and buy a 50/50 antifreeze mixture.
- Add the mixture to the radiator where the pressure cap was removed. Consult your car’s owner’s manual to find out the recommended amount to add. Pour it in with a funnel to make sure all that all of the solution gets inside. Pour it slowly, as the liquid could easily back up into your funnel. Make sure that you fill your radiator up to the fill line.
- Start the car to pull the liquid through your system. Your antifreeze solution won’t drain completely from your funnel, so you’ll have to turn your car on with the heat at full blast to pull in the fluid that remains. When the funnel is empty, take it out and screw the pressure cap back on.
- Let your vehicle run for roughly 15 minutes. This will allow the antifreeze to be pulled through your entire cooling system.
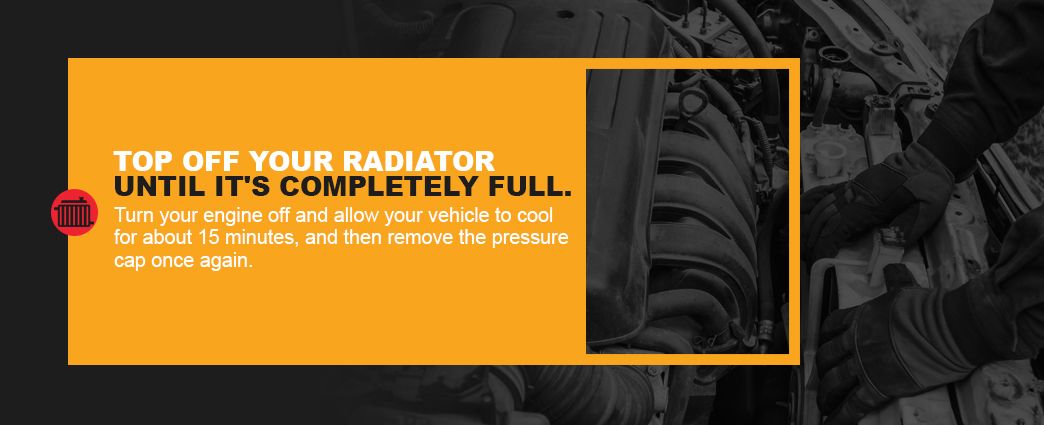
- Top off your radiator until it’s completely full. Turn your engine off and allow your vehicle to cool for about 15 minutes, and then remove the pressure cap once again. Make sure the antifreeze is up to the fill line in the radiator. If it’s still below the line, you’ll need to add more solution. If you have any solution leftover, you can save it for the next time you’ll need to perform a radiator flush. You can also add a cooling system treatment, like our DiFM Professional Treatment. It helps inhibit scale and rust and even seals leaks.
Trust a Cooling System Expert: Choose Bar’s Leaks for All Your Radiator Flush Products
Leaks suck, and they’re no fun to tackle alone That’s why we have your back.
Bar’s Leaks isn’t just a company that stops leaks — it’s a team of experts and enthusiasts passionate about creating the best experience for every customer. With over seven decades of experience helping drivers fix leaks, we have a proven track record and long history that shows our passion for and commitment to helping automobile owners of all levels of experience. At Bar’s Leaks, our customer experience encompasses a wide variety of resources, ranging from sponsored events to how-to videos that walk you through every step of our easy installation process. You’ll notice that our commitment and enthusiasm are reflected in all that we do — and we believe that you will discover that enthusiasm when you experience the fast-working effectiveness of our products. Check out our popular YouTube channel and Facebook page if you haven’t already.
We at Bar’s Leaks are a team of chemical engineers, life-long car lovers and passionate problem-solvers. We can fix most types of leaks related to engine oil, cooling systems, transmissions, head gaskets, power steering and much more. Bar’s Leaks leak-stopping products also travel nicely — you can put them in your trunk, store them in your garage or pick them up on the way to work so they can get your car back on the road as soon as possible! (They’re a great emergency roadside kit addition, too.)
We are America’s best-known company for leak-stopping products, and we strive to live up to this reputation every day. Although there are other companies that claim to sell effective leak-stopping products, they often don’t work — and sometimes they only make things worse. However, at Bar’s Leaks, we don’t just dabble in this industry — we commit ourselves to the sole objective of providing customers with easy, fast and effective ways to fix leaks, and our team includes some of the best chemical engineers and customer support specialists to back it up.
Manufactured right here in the United States, every one of our products is formulated and made just outside Detroit. We are committed to making fast, affordable products that perfectly suit your budget and lifestyle. Buy your cooling system products from Bar’s Leaks, and you’ll realize how easy automotive maintenance can be if you have the right tools.